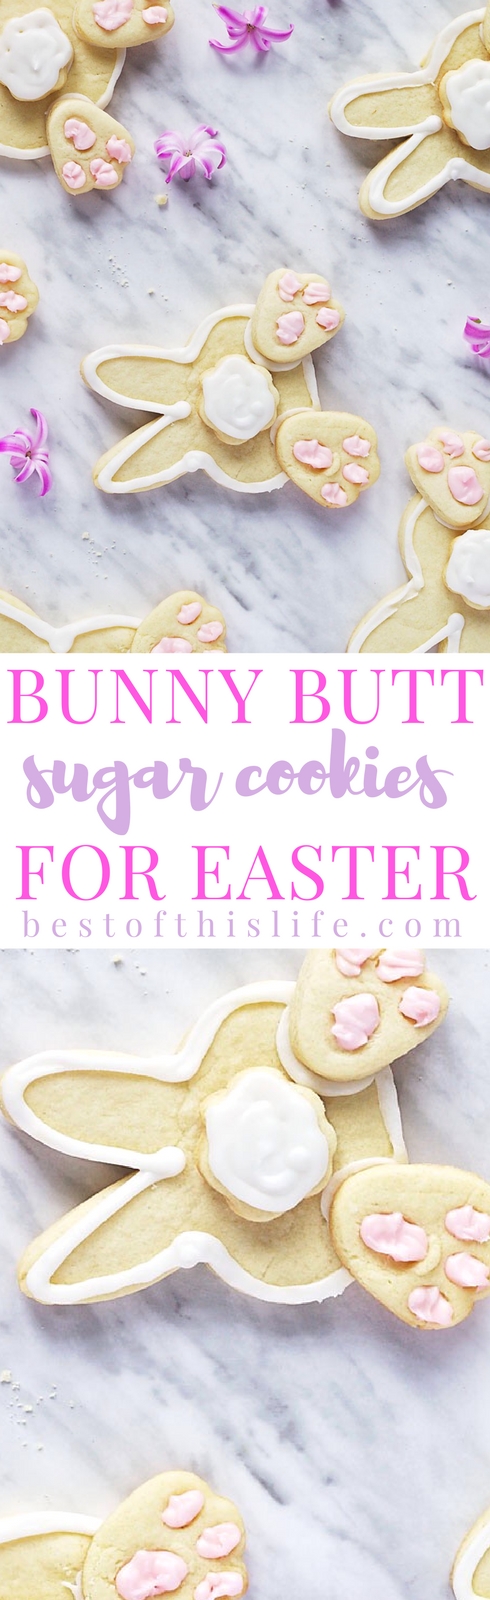
How Cute Are These Easter Bunny Butt Sugar Cookies!
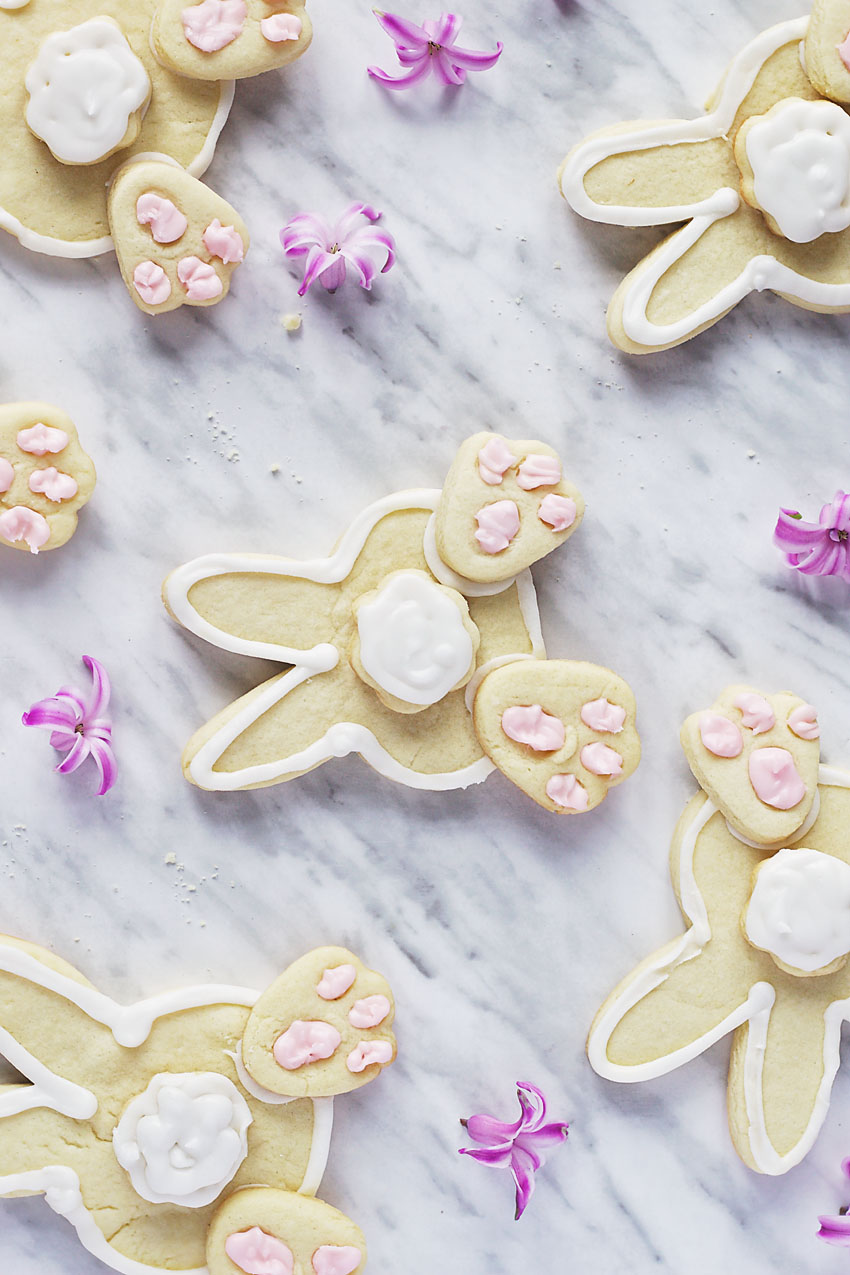
I was doing some shopping for pantry staples at Bulk Barn when I saw this adorable Easter Bunny cookie cutter set. I just knew I had to pick it up to make cookies with my kids for Easter. The set contained the shape of the bunny, paws, and tail, and on the flip side of each cutter was a stamp you could press into the cookie to create a printed image – of either the bunny’s face or the details for the paws and tail. This made things pretty simple in terms of prepping our bunny butts, but in case you can’t easily find a set like ours, you can also use a large circle (a glass base will work) as the back side of the bunny, an oval shape for the paws, and a smaller circle for the tail (like this step by step).
For these adorable bunny butt cookies, we used a traditional sugar cookie recipe that holds up to being rolled out by little ones, several times, and is sturdy enough to allow for the weight of attaching the paws and tail to the main bunny cookie. It’s also a classic when it comes to flavour, and everyone always enjoys them for their deliciously sweet and buttery taste.
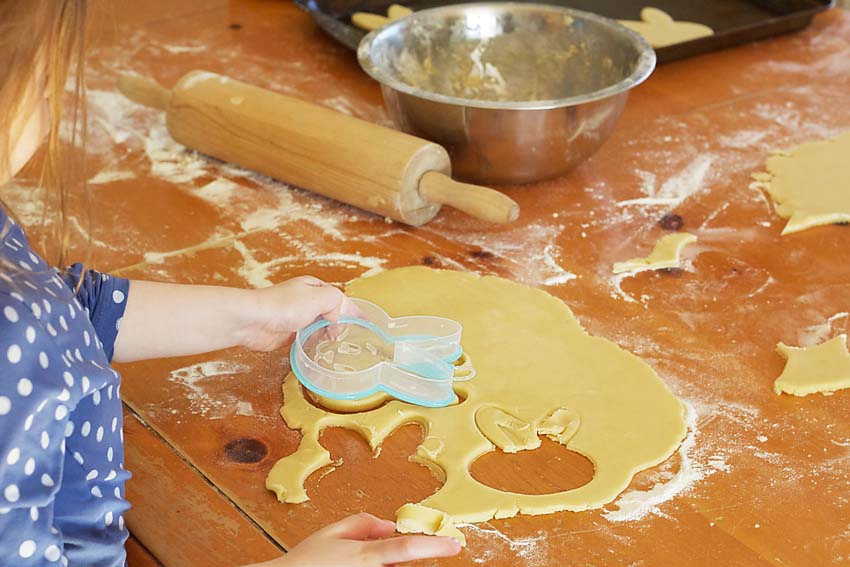
Earlier this week after school, I set up the dining room table with our cookie-making station. My kids are always thrilled to come home and see a creative activity waiting for them and preparing for the coming of Easter with super cute bunny butt cookies was definitely exciting. Of course, they also found the concept hilarious!
It’s best to prepare the dough in advance if you can, so I made it during the day and let it sit in the fridge – taking it out just 20 minutes before we got rolling. Remember to have a clean, dry, floured surface to work on so the dough doesn’t stick. For baking, it’s important to place all the large shapes on one tray and bake them separately than the smaller shapes. The smaller shapes will bake quicker, so watch them in the oven. I cooked all of the shapes for 5 minutes, even the small ones, but didn’t have the in the oven at the same time as the large ones, so they were able to bake evenly.

After the cookies have baked, it’s important to allow them to cool – preferable overnight so they are completely solidified. Prepare your royal icing to decorate and assemble! I actually put all the pieces in the freezer for 10 minutes to make sure they were quite solid before handling them so much.
I used a small round nozzle piping the edges and filling in the white of the tail and just for some texture on the paws and ears, I used a small star nozzle.
In the end they turned out pretty darn cute and my little bunnies were all too happy about them!

Easter Bunny Butt Sugar Cookies
- Yield: 12 1x
Description
Give traditional sugar cookies a twist with an adorable Easter theme.
Ingredients
- 3 cups flour (or cup for cup gluten-free all-purpose flour to make GF)
- 1 teaspoon baking soda
- 2 teaspoons cream of tartar
- 1 cup butter, softened
- 2 eggs
- 1 cup sugar
- 1 teaspoon vanilla extract
Instructions
- Preheat oven to 400F and grease 3 baking sheets. In a mixing bowl sift flour, soda, and tartar. Cut in butter until mixture forms small balls (like peas). In a separate mixing bowl, beat eggs, sugar, and vanilla – add to the dry mixture. Refrigerate the dough for 30 minutes or until firm. Roll out to 1/2 inch thick (thinner if desired) on a clean, floured surface and cut using bunny-shaped cookie cutters. Place cookies on baking sheet, bake at 400F for 5 minutes. Remove and cool completely before icing.
Royal Icing
- 450 grams icing sugar
- 2 large egg whites (or 5 tablespoons meringue powder)
- water
- In the bowl of an electric mixer combine sugar and egg whites. Mix on low speed and slowly add in about 1/2 cup of water. Blend until smooth. Transfer to piping bag to decorate with tip of your choice.
Notes
- Depending on cookie cutter size, this recipe makes 12 large bunny cookies (including paws and tails). Otherwise, makes about 4 dozen regular-sized cookies.
Pin this recipe!
- Elevate Your Gift-Giving with Timeless Pieces from Vincero - February 5, 2024
- The Glow Up: Elevate Your Skincare - January 26, 2024
- Enjoy the Health Benefits of Smoothies - January 3, 2024