Create a Unique Back to School Pencil Case with Cricut Maker
This is a sponsored conversation written by me on behalf of Cricut. The opinions and text are all mine.

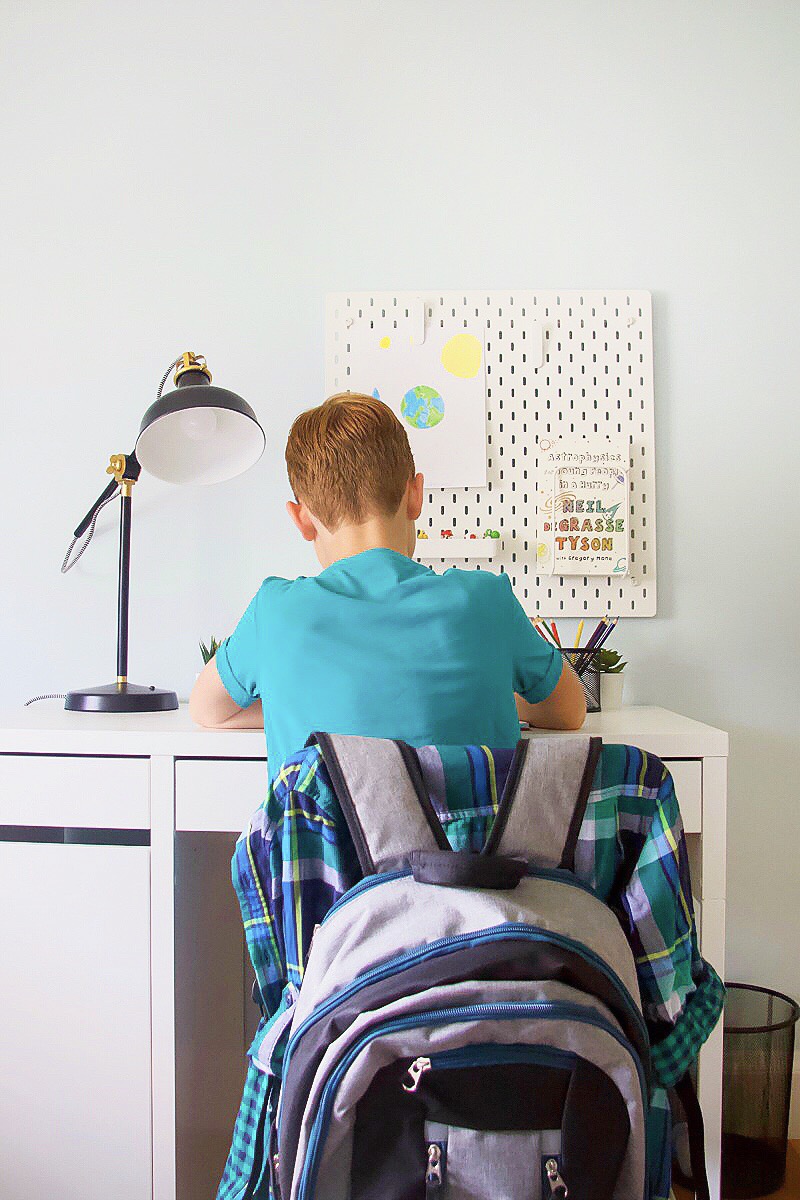
Do you and your kids love making crafts? The summer break is the perfect time to get creative with easy back to school projects using the NEW Cricut Maker.
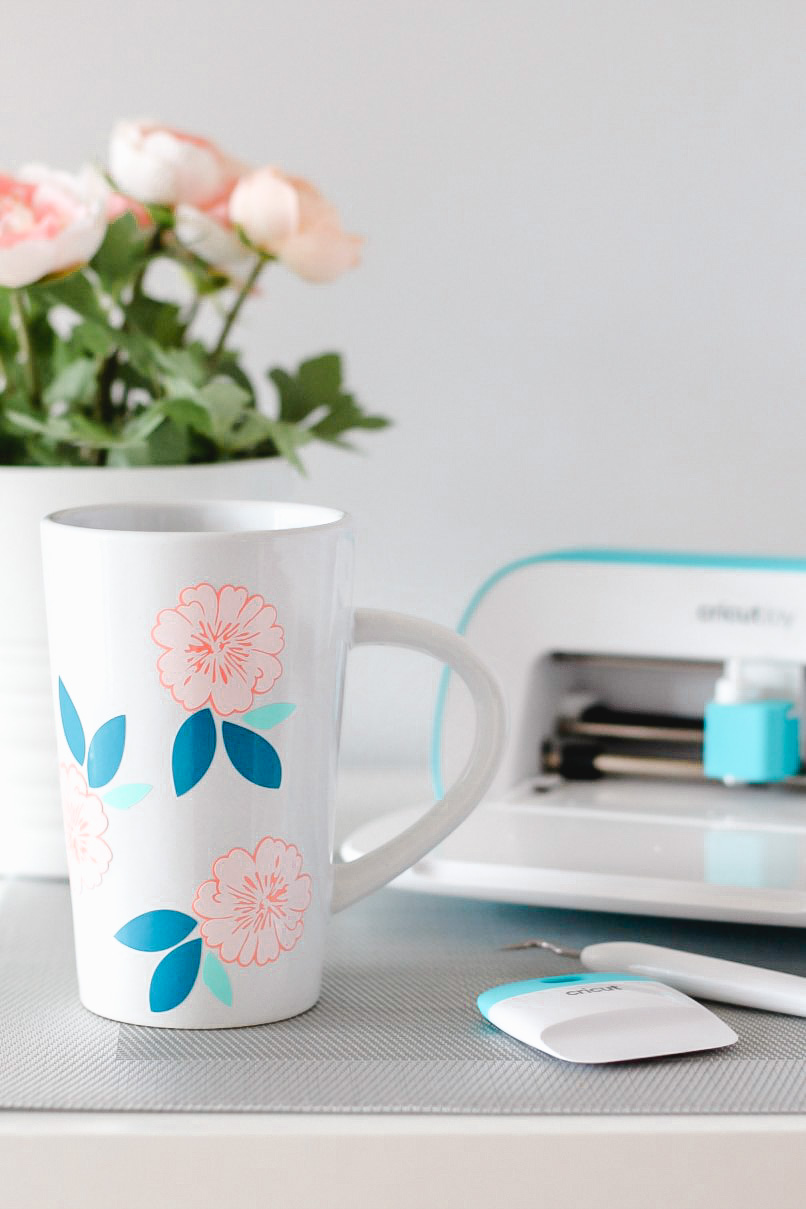
There are so many exciting and unique pieces you can make, from customized backpacks to personalized t-shirts, the options are endless. The Cricut Maker can help you create “first day of school” signs, monogrammed lunch boxes, bedazzled water bottles, and so much more using Everyday Iron-Ons, Vinyls, and Infusible Ink. It’s the ultimate crafting tool for all your back to school DIYs.
DIY Personalized Pencil Case
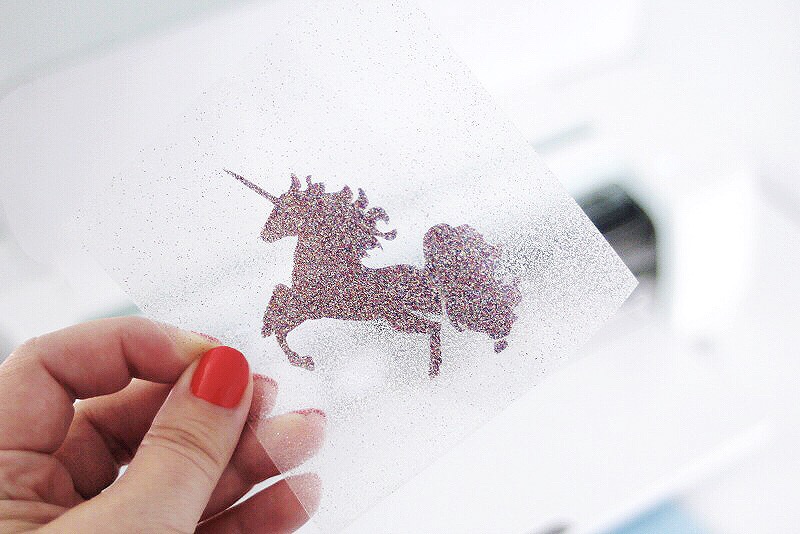
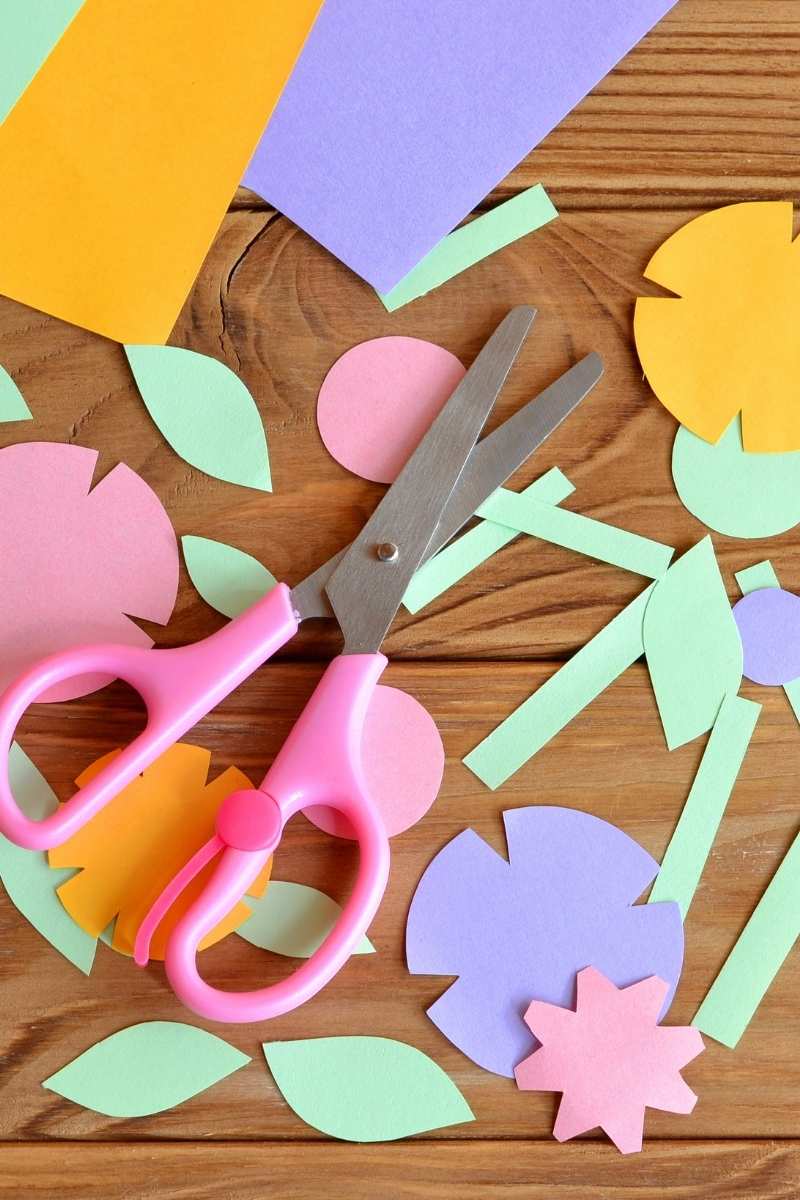
For our first back-to-school craft using our new Cricut Maker, we decided to jazz up some pencil cases! We wanted to make them personal for the kids with silhouettes they would each love – a unicorn for Abigail and a wolf for Aiden.
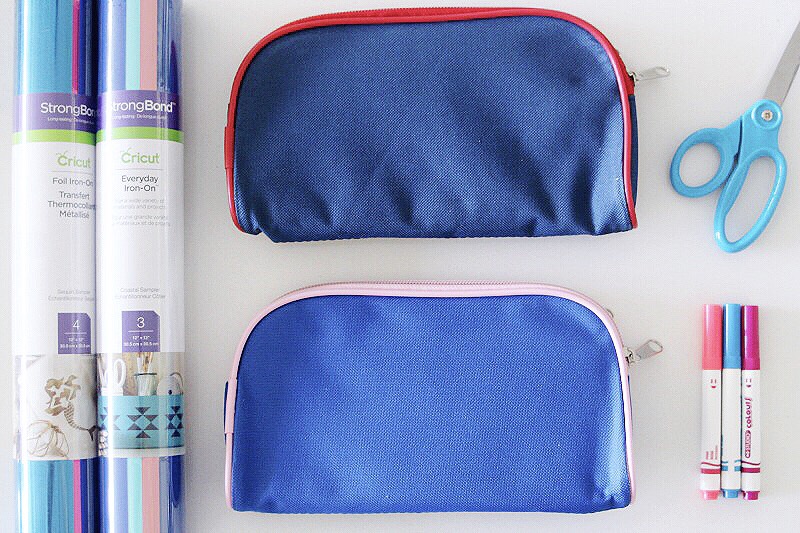
To get started, I picked up two basic, polyester pencil cases from our local dollar store. Next, we found the images we wanted to use to decorate the cases with in Cricut Design Space. Then we chose which iron-ons to use. For this DIY, we decided on the Glitter Iron-On in Multi-Pink and the Foil Iron-On in Chrome. You can choose from Mesh, Mosaic, Mini-Samplers, Everyday Iron-Ons and more!
Many of the iron-on materials you can choose from come with the the StrongBond™ Guarantee which means that when you apply your Cricut Iron-On, following the instructions, you’ll have great results. The quality teams at Cricut have worked hard to make sure the iron-ons work perfectly and last a long time on your projects. If they don’t, they’ll replace them for free.
Before we jump into the steps, here’s a list of what you’ll need to make your own Customized Pencil Case:
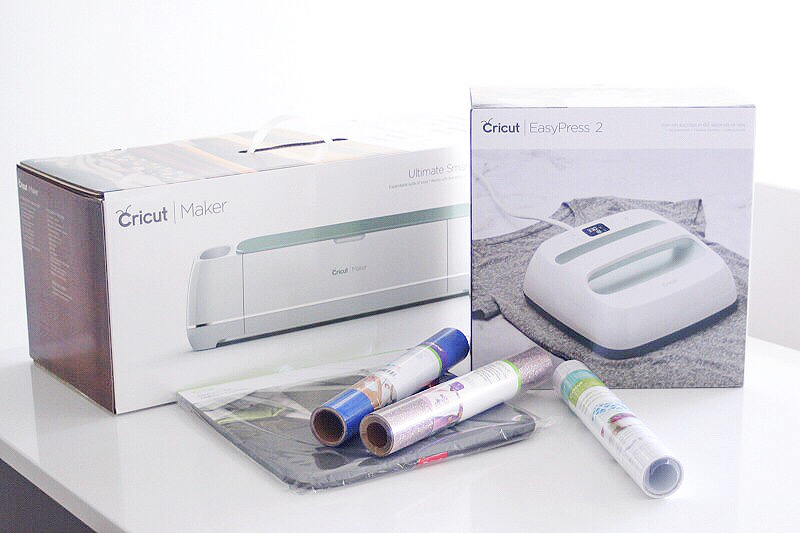
- Cricut Maker
- EasyPress 2 (or iron)
- Cricut EaysPress Mat (or towel)
- Craft scissors
- Pencil case
- Iron-On of your choice (we used Glitter Iron-On and Foil Iron-On)
With all your tools and items set up and ready to go, it’s time to get crafting!
Step 1 – Choosing Your Image
Open up the Cricut Design Space App on your phone (or on your desktop). On the left hand tab, select your machine (Maker). Proceed to the Home page and select New Project. Once you’ve opened up a new project, you’ll want to find an image to use. You can either upload your own or search from the images available. That’s how I found ours! Click Image at the bottom left corner to peruse all the cute and inspiring options. You can also use the search bar to find exactly what you’re looking for. Select the one you want and press Insert.
Step 2 – Size Your Image
Measure the space on your pencil case where you will be placing your image on. Decide on how small or big you want it and use those measurements to input into the Cricut Design Space App under the section on the toolbar called Edit. For the unicorn, our measurement was 2.5 inches by 3 inches.
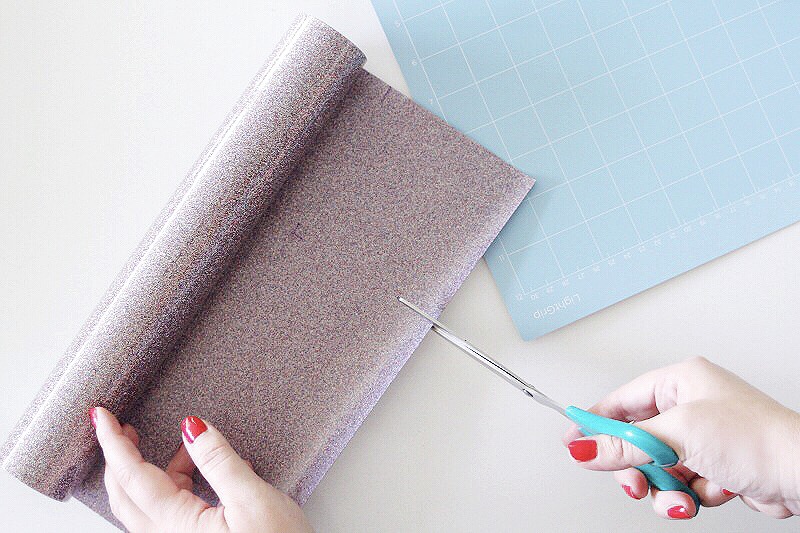
Step 3 – Prepare The Iron-On
Equipped with those measurements, mark and cut the Iron-On you will be using. Remember to leave some room around the edges. I cut a 4 inch by 4 inch piece. Apply the Iron-On to the cutting mat and proceed with the next step.
Step 4 – Cut The Image
You’re ready to get cutting. Turn on the Cricut Maker and select Make It from the toolbar in the Cricut Design App. At this point, the app will walk you through the steps to take, including feeding the cutting mat into the Maker. Then watch it do it’s magic!
Step 5 – Apply The Iron-On
Gently remove the off cut material. Now it’s time to apply your iron-on image to the pencil case. Turn your EasyPress 2 on and use the Circuit Heat Guide to find out exactly what temperature and time to use based on the material of your pencil case and which iron-on you will be using (for example, the temperature for polyester might be different than cotton and Glitter Iron-On will be different than Foil Iron-On).
For our polyester pencil case and the Glitter Iron-On, the setting is 330F with a 30s light pressure on the front (design face down), a warm peel of the liner, and a 15s press on the back of the pencil case.
Once you press the design, you’re all done!

This was our very first project we made using our new Cricut Maker (other than the practice project that comes with your Maker) and I think we did an amazing job. Our only blooper was accidentally pressing the pink piping on the side of the pencil case, which melted it a bit, oops! But we made sure not to repeat that mistake with the red piping on the second pencil case.
Overall, it turned out wonderfully and my kids are SO pleased with their new custom pencil cases. They’re not heading back to school for another month, yet Abigail and Aiden are using their cases now and even playing with them because of their cute character designs! Unicorn and wolf have already been on several adventures, hehe.
Seeing the Cricut Maker and EasyPress 2 in action has made us all incredibly enthusiastic to design even more and get working on lots of back to school DIYs. There are so many things you can make using these incredible tools! You can learn more about them at Cricut.com
Do you have an idea for a back to school project to create with the Cricut Maker? I’d love to hear it!
PIN THIS PROJECT!

Please note: Comments submitted may be displayed on other websites owned by the sponsoring brand.
- Elevate Your Gift-Giving with Timeless Pieces from Vincero - February 5, 2024
- The Glow Up: Elevate Your Skincare - January 26, 2024
- Enjoy the Health Benefits of Smoothies - January 3, 2024
My mom has a Cruicut and I love using it for different projects! Love what you created here…so cute.
This is such an excellent tutorial for cricut crafts! I bet my kids would love it if I did this! Actually, I should do this and involve them!
What a cute idea. Kids love to stand out from the crowd and this looks like a lot of fun. I bet the kids would enjoy doing it with us!
I’ve been wanting a Cricut forever! This cute project is now another reason why I really need to get one!